

Are you planning to lighten your locks? If you’re thinking about a total hair makeover, dyeing your hair a few shades lighter, or adding some highlights, you will likely need to bleach your hair using a bleaching agent.
However, bleaching your hair is a tricky process, especially when done at home. One of the most important things you must consider is not leaving the bleach for too long. Otherwise, it could cause irreversible damage and result in brittle strands.
Keep reading to discover how long you should leave a bleaching agent in hair, plus other tips to do before and after bleaching hair.
But first, let’s find out what hair bleaching is to appreciate the process better.
What is Hair Bleaching?
Hair bleaching is the practice of lightening the hair. It is a chemical process that involves stripping the pigment or color of your hair, resulting in lighter hair strands.
Each strand is dependent on the type and condition of hair you have and how dark your natural hair color is. This means that every individual strand will have different pigment levels to dissolve.
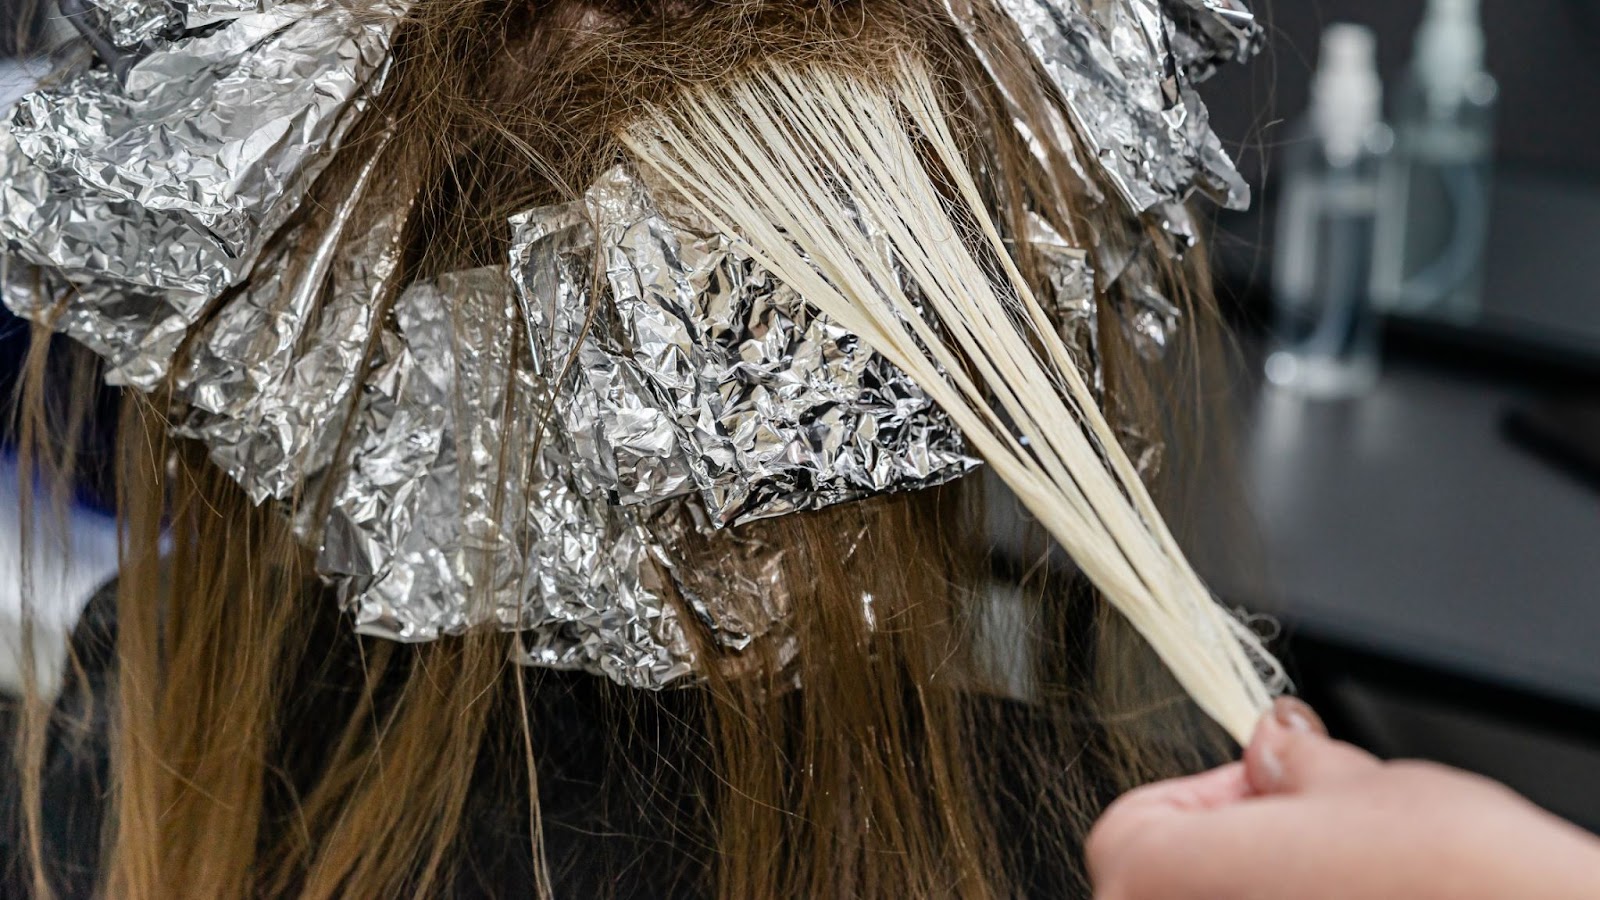
The longer the bleaching agent is left on the hair, the lighter the locks become because more pigment is dissolved. If your hair has existing blond tones, it is easier to achieve a platinum shade than those with darker shades, such as black or dark brunette.
Even after the first application of bleach, their once dark hair will likely appear warm reddish or yellow and not the platinum shade right away.
So, How Long to Leave Bleach in Hair?
How long you leave the bleach mixture on your hair depends on several factors , such as your hair texture, natural hair color, the color you plan to achieve, and whether you have virgin hair (which tends to lighten quicker than hair that’s been color-treated before).
Here’s a guide you can follow:
| Hair texture and natural color | How long to leave the bleach on |
| Fine hair | Bleach in your hair for 10 to 15 minutes; this hair texture processes faster because it has a thin cuticle layer. |
| Blonde hair | 15 – 20 minutes |
| Coarse hair | Leave it for half an hour. This hair type may require at least two applications as it is more challenging to work with. |
| Dark hair | Half an hour. It is best to split the hair bleaching process into several sessions. |
If you’re unsure, just avoid going beyond 45 minutes . If you believe that keeping the bleaching agent on your hair for an extra 10 minutes will lead to a lighter blonde, then you’d be disappointed.
See Related Post: Folliboost Hair Growth Serum Reviews
What Happens if You Leave Hair Bleach for Too Long?
After 45 minutes, the bleach will stop dissolving the natural hair color and begin “cooking” your strands.
Too much exposure to the chemical agent can result in brittle, dry hair strands prone to breakage. So, to avoid damaging your hair, consider your general health before applying the bleaching agent.
The general rule of thumb in hair bleaching is the darker the natural hair color is, the longer the bleach should stay in the hair to achieve the desired look. However, do not overdo the process.
Other dangers of leaving bleach in hair for too long
- Hair becomes less able to retain moisture and weakens mane
- Hair can turn white after losing all pigment
- Loss of keratin – without keratin; the hair structure is compromised
- Can turn your hair orange, mainly when bleach is applied on darker hair
5 Tips to Safely Bleach Your Hair Like a Pro
(A Step-by-Step Guide to a Safe DIY Bleach Blond Hair)
Tip No. 1: Do an elasticity strand test
Before bleaching your hair, make sure to check your current hair situation. How does your hair feel? Is it already processed? Can it handle the potential damage you are about to do?
Hair colorists and professional hairdressers would agree that doing an elasticity strand test is a good idea to know if your hair is in good condition to bleach. You can do this by spraying some water on a piece of your hair.
Once the water is absorbed, stretch the wet strand gently. If the texture is somehow gummy or it stretches more than usual, then it is not safe to bleach it.
On the other hand, if the hair simply goes back to its natural state, it means that your hair is in an excellent condition to bleach. Afterward, do a patch test with the bleaching agent or mixture that you will use to see how your hair will react.
Use the same process as the elasticity strand test, but only in a small area of your hair or forearm.
If the skin patch is swollen, itchy, blistering, or red, you experience an adverse reaction to the bleaching agent and shouldn’t use it.
Tip No. 2: Choose a bleach with good lifting capability.
Choosing a good quality hair bleach is essential to achieve the desired look. However, be aware that many hair bleaches in the market still require users to make multiple applications or unnecessarily increase the developer strength. Both of these can result in hair damage.
Professional lighteners include powder, cream, or clay formulas, and they come in different strengths that allow them to achieve six to nine levels of lift.
Best Professional Hair Bleaches: My Top Recommendations
- – Best Overall (Fades Out Even Dark Brown Hair)
- – Best Gentle (Deepest Hydration Formula for Damaged Hair)
- – Best Balanced Lightening for Highlights and Balayage
- – Best Salon Quality Bleach (Lights Up to 7 Shade Levels)
All these hair bleaches have a formula that can prevent hair breakage, won’t irritate the scalp, and have a substantial lift. After choosing the hair bleach, you should also consider your developer strength.
I go for 20 Vol. developer for one to two levels lift.
Tip No. 3: Prep! Prep! Prep!
Bleaching can strip your hair of nutrients. One way to minimize the damage is by nourishing your hair with hydrating products beforehand. A few days before bleaching your hair, use a moisturizing shampoo, deep conditioner, hot oil, and hair masks.
Next is to gather your materials, including the toner, mixing bowl, brush, gloves, shower cap or plastic bag, and the lightener. During bleaching days, section your hair into four parts.
Rub coconut oil from the hair roots to the tip to hydrate your hair. It is beneficial to use coconut oil before bleaching your hair for added protection. Allow the oil to absorb into your hair for at least an hour, then begin mixing the bleach product.
Why consider your hair type and color before bleaching?
Different hair types and colors require unique bleaching times. If you have chemically treated, straightened, or relaxed hair, the bleaching agent, can quickly damage your hair. Bleach works best on unprocessed, virgin hair.
Tip No. 4: Apply the hair bleach one inch away from the scalp.
A pro-tip to remember when bleaching your hair at home is to apply the chemical agent one inch away from your scalp for the first half-hour. Then, apply the bleaching agent to the roots in the remaining minutes.
Your hair roots are more virgin, making them faster and easier to bleach, so they usually just need 15 minutes. Throughout the process, check your hair every ten minutes. After the recommended time to leave bleach in the hair, rinse properly.
Tip No. 5: Have a realistic idea for the result.
The next tip you can consider when or before bleaching your hair is to have an accurate picture of the result. You can’t expect to go light instantly, especially if you have or are working with black hair.
Give your hair enough time to heal to avoid damaging it. Avoid double processing – applying another bleach mixture a few more times in one week. So, give enough time between bleaching sessions to achieve a platinum look.
It is best to baby your strands with coconut oil while you wait. Remember that bleaching your hair takes a lot of patience, honey.
See Related Post: How Long to Leave Hair Dye In
Tip No. 5: Restore your hair’s health post-bleaching.
After you’ve bleached your hair, keep it healthy and help restore your hair’s softness post-bleaching.
Some of the best ways to do that are as follows:
- Do a post-color treatment
- Use pre-shampoo conditioners three days before and after hair bleaching
- Apply serums and hair masks to keep your hair moisturized
- Use a hair conditioner after shampoo
- Brush your hair gently; don’t pull hair too hard
- When styling your hair with a blow dryer or an iron, use a thermal protector
- Wait for six to eight weeks before applying another hair dye or bleaching agent again
- Wash hair with lukewarm water
What is Toning Bleached Hair?
Toning bleach hair is applying a hair solution after bleaching the strands to neutralize any yellow pigments, brassy tones, or orange tinge.
The toner works noticeably on light hair as it does not permanently alter or lift the color of the hair but simply adds a tone over it. Toning bleached hair helps you achieve true-to-color results, whether platinum blonde, ash blonde, or pastel.
How to use hair toner
Toning hair has relatively short-term results, lasting between four to six weeks. Your finances and time may not stretch to receiving salon treatment each time.
So, here’s a guide you can follow at home for the best results:
1. Thoroughly wash your hair and apply the toner to dry or towel-dried hair.
2. Apply the toner in the central part of the strands or areas that require the most correction.
3. If it’s your first time toning your hair, do a strand test first because results may differ based on your hair porosity.
4. Leave the hair toner for five to 20 minutes. Rinse a small section first to see if the color is to your liking before thoroughly rinsing.
Achieve Your Dream Hair Color Today

Bleaching agents, such as ammonia and hydrogen peroxide, used in lightening hair are abrasive chemicals. They have an incredibly high pH (11-12 upwards), which can damage hair when misused. Therefore, we recommend seeking professional assistance when making primary style or color changes to your hair.
However, if you apply the bleach in just the recommended time and take the proper precautions, it’s way cheaper, plumps your hair shafts, and helps you finally achieve your dream shade without going to a hair salon.
With our guide on safely bleaching your hair like a pro, you can hit the jackpot on your first try.
Good luck!
If you liked this article, you might want to check our other articles at HairsAffairs.com .